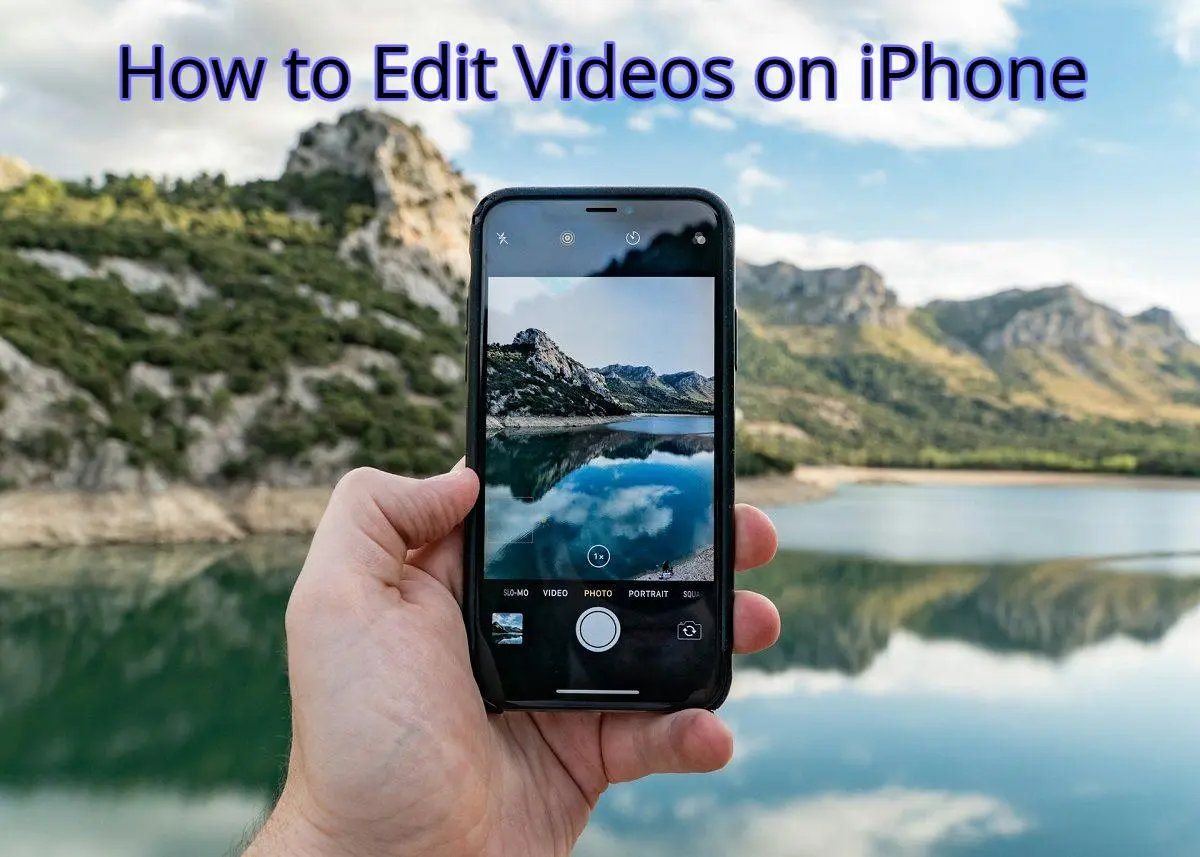
That high-end camera collecting dust in your closet? You don’t need it. The phone in your pocket is already a video powerhouse that most filmmakers from a decade ago would have murdered for. As an iPhone user, you’re carrying a professional-grade camera and editing studio with you wherever you go. No film school necessary—just a few clever adjustments to your settings, a good microphone, and some rudimentary lighting knowledge.
In this article we will discuss easy-to-follow steps to edit videos on your iPhone—the insider tricks that create the difference between ‘clearly shot on a phone’ and ‘wait, how did you do that?’
Can You Edit Videos on iPhone?
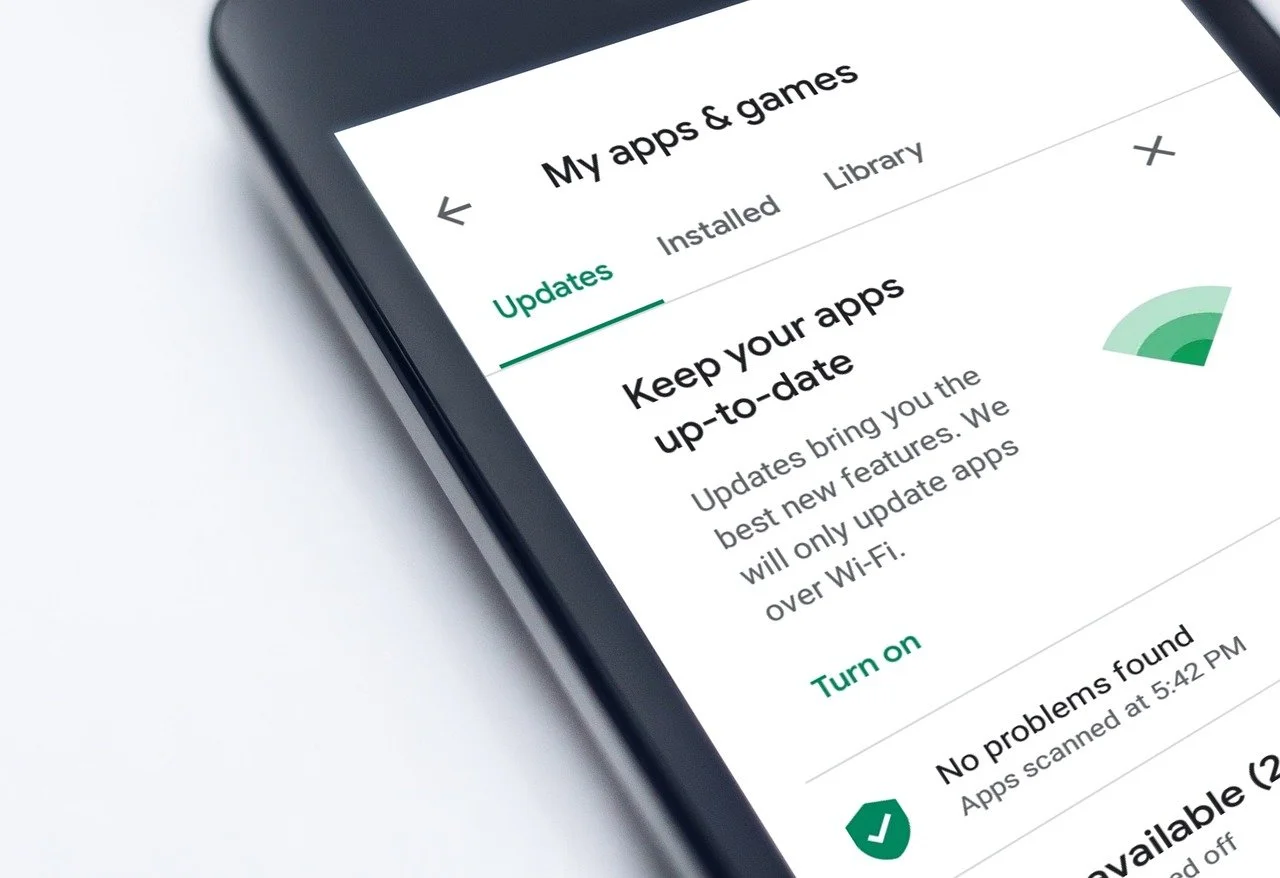
You can edit videos on an iPhone using the Photos app or iMovie, both of which provide key editing tools. In the Photos app, you can crop your video, change color and brightness, visual effects, and add filters. But it won’t merge multiple clips or let you add text overlays—you’ll have to use iMovie for those functions.
iMovie lets you trim clips, insert titles, background music, sound effects, voiceovers, filters, and smooth transitions. iMovie is available on Mac and iOS devices and handles 4K video. Its editing capabilities, though, might not cut it for expert creators who demand more sophisticated features.
Top Video Editing Apps for iPhone
You don’t have to use the native iMovie when you edit videos on an iPhone. Here are some of the most popular third-party options that provide more advanced features:
- CapCut: With its AI-driven effects, motion tracking, and smooth integration with TikTok, CapCut is perfect for social media influencers.
- Adobe Premiere Rush: It features an intuitive interface with access to stock media, making it great for fast edits and pro projects.
- VideoLeap: It’s differentiated by AI image generation tools, filters, and color recoloring, making the editing process simpler and more playful.
How to Edit Videos on iPhone: Complete Guide?
With some creativity, your iPhone, and some footage, you can easily edit and create high-quality clips. The following is a tutorial on how to edit videos on iPhone using the Photos app and iMovie.
1- Open the Photos App
- Opening Photos app on iPhone
2- Find and Select Your Video
- Tap the Videos album and choose your video.
- Finding a video on iPhone
This step may be different from the iOS version. For instance, in latest versions of iOS, the Videos album is right in front, while older ones can be done via Albums > Media Types > Videos.
3- Tap ‘Edit’ to Begin
- Looking for the Edit option in the Photos app
Note: If you’ve just taken a video using the Camera app, tap the box in the bottom-left corner, then tap Edit in the top-right corner to begin editing right away.
A timeline bar will be displayed at the bottom of the screen that represents every frame of your video.
- Timeline bar for editing videos on iPhone
- Under the timeline bar, you’ll see a row of four editing options.
- Edit: Press this camera icon to open up the video timeline.
- Adjustment: Choose this tool (looks like a dial) to adjust your video’s exposure, brilliance, shadows, highlights, contrast, warmth, saturation, vibrancy, tint, sharpness, and more.
- Filter: Press the filter icon (looks like three rings) to insert various color filters, including original, vivid, dramatic, mono, and silvertone, to your video. Use the slider bar of each filter to amplify or reduce its strength.
- Crop: Crop your video by dragging guides until you have the portion you desire.
4- Change Video Settings and Effects
- Tap and hold at either end of the timeline to turn on the trimming tool (yellow border).
- Drag the sliders to change the start and stop points, cutting out unwanted sections. To edit finely, tap and hold an anchor to make the timeline larger.
5. Include Text, Captions, or Visuals
Including captions or subtitles makes your video viewable by hearing-impaired users and users viewing without audio, so they don’t miss out on important points.
- It is possible to include text, titles, or captions through the Photos app, but it necessitates logging into iCloud.com, making it inconvenient.
- A handier choice is iMovie (how to add subtitles in iMovie), which provides different tools to insert and modify text right within the app. Here’s how:
- Hit Done in the Photos app, then save the trimmed clip before going to iMovie in order to insert your text, captions, or mark-up.
- Hit Save Video in order to save the trimmed clip or Save Video as New Clip to save both forms of the clip.
Saving video in Photos app
Then, get iMovie from the App Store, then tap to open it. Then, choose Start new project.
- Starting a new project in iMovie
- Tap the Movie option to start a new project.
- Selecting the movie option in iMovie app
- Choose a clip to import from the latest videos you recorded directly or imported to your iPhone.
- Choosing a movie from album on iPhone
Scroll the timeline bar so that the playhead (white vertical line) is where you’d like to insert your video.
Image of iMovie timeline bar
- Tap the Add Media (+) button
- Adding media in iMovie
- Tap Video
Choosing video option in iMovie
- Tap Video, then the T (or text) option. You’ll see a range of templates and text styles to select from, each with varying font sizes and animations.
- Adding text in iMovie video timeline
- Click on each style to see how the text will appear, and choose the appropriate one for your video. Type your text and choose where it’ll appear: in a lower corner or across the middle of the screen.
Adding text to iMovie
- Click Done in the top left of the screen.
- Next, tap the Play button to preview your video in landscape full screen and make sure your captions/subtitles are correct. If you see an incorrect word or typo, go back to edit mode, choose the video, and tap the T (text) icon.
Previewing text added to video
- When you’re satisfied with the text, tap Save Video to save the video on your iPhone.
Saving video to iPhone
Tip: If your iPhone storage is full, check out our guide on how to send large, high-quality video files using your phone (iOS or Android) to explore available services and platforms.
6. Use Auto-Enhance for Quick Improvements
Apple’s auto-enhance feature—which resembles a magic wand—automatically adjusts your video’s color and brightness levels.
But then, this tool doesn’t always give the best output. Most times, it makes the video worse by overexposing and oversaturating it rather than enhancing it. And to make matters worse, whatever adjustments you do are done to the whole video—not a specific portion.
- You could also use Apple’s auto-enhance feature, which adjusts color and brightness automatically. But then, it doesn’t always give the best output—sometimes overexposing or oversaturating the video.
- Using Apple’s Auto Enhance feature for video
- Use the slider to change the edits’ intensity
- Adjusting video enhancements in Photos app
- To delete the auto-enhancement from your video, tap the Auto Enhance tool again (if the Auto Enhance icon is pale when turned off, it will turn dark gray).
7- Preview Your Edited Video
- Tap Play to preview your trimmed video.
8- Save and Share Your Video
- When you’re done, tap Done.
Conclusion
The iPhone is a necessity in todays’ world. With these tips, we hope you can easily edit the videos on your iPhone.