Do you need to transfer money from Cash App to Apple Pay quickly and easily? Then look no further! This blog post will provide a step-by-step guide on transferring money from Cash App to Apple Pay in just five simple steps. We’ll cover everything you need to know, including the benefits of using this method and how to avoid any potential pitfalls. Continue reading this article to find out how to transfer money from the Cash app to Apple Pay.
If you’re looking for a way to easily and quickly transfer money from your Cash App account to your Apple Pay account, then you’ve come to the right place. This blog post will provide you with a comprehensive guide on how to do this in just five simple steps. Not only is the process incredibly simple and straightforward, but it also takes no time at all. Whether you’re a first-time user of Cash App or an experienced one, transferring money from Cash App to Apple Pay is a seamless and secure experience.
1. Log Into Your Cash App Account
The first step to transferring money from Cash App to Apple Pay is logging into your Cash App account.
To do this, open the Cash App on your device and enter the phone number or email associated with your Cash App account. After that, enter your personal PIN or use Touch ID if you have it set up on your device. After you have successfully logged in, you will be able to proceed to the next stage of the procedure. Tap the “Payment” icon, which is located at the bottom of the display on the home screen. This will take you to a new page where you will need to select “Apple Pay” as your payment method.
After selecting Apple Pay as your payment method, a pop-up window will appear. It is asking for permission to link your Cash App account to Apple Pay. You will need to confirm that you want to link the two accounts by tapping “Allow.”
2. Tap The Cash & BTC Button
Simply tapping the Cash BTC button is the first step in the process of moving money from your Cash App account to Apple Pay. You can locate this button at the very bottom of the screen. It looks like two paper bills with a line in the middle of them. After selecting the button, a new screen will load with further customization choices for you to choose from.
After tapping the button, you will be brought to a new screen with more options. From here, you can access your Cash App account balance and Bitcoin information if you have any. You are free to skip this step and go on to the next one if you do not currently own any Bitcoin. Before moving further, check that your Cash App has enough money in it to cover the amount, you want to send. So, that the transaction goes through without a hitch.
You may do this by navigating to the “My Cash” area, which is located at the top right corner of the screen. Once your identity has been verified, you will then be able to transfer money using Apple Pay. To send the message, use the “Send” button located in the upper right corner of your screen. After that, you will ask to input a sum and choose a payment method before continuing. Select Apple Pay from the list of payment methods, input the recipient’s email address or phone number, and then click “Next.” Confirm the details and hit “Send” – once complete, the funds will automatically appear in their Apple Pay wallet! You should receive a notification confirming the successful completion of the transaction as well.
Finally, you understood the procedure of how to transfer money from Cash App to Apple Pay. You may also want to check with the recipient. This is to ensure they’ve received their funds safely and securely via Apple Pay.
Read More: Apple Pay Payment Not Completed: How To Fix It?
3. Continue Scrolling Down Until You Reach The Apple Pay Area
When you are ready to transfer money from Cash App to Apple Pay, the first step is to scroll down the page to the Apple Pay section. You should see a green bar labeled “Cash & BTC” on the Cash App home screen. Tap on this bar to open the Cash & BTC page, then scroll down the page until you see the “Apple Pay” section. This will be marked with the Apple Pay logo, a white apple with a black background. At this stage, you are prepared to move money from the Cash App account that you have been using to Apple Pay. To begin, tap the “Link Apple Pay” button located within the Apple Pay section. This will bring up a page for you to input your credit card or debit card details.
So, that we can verify your purchase. Please ensure that you have entered all of the information accurately before submitting it. After verifying your card, you can start transferring money from Cash App to Apple Pay by simply entering the amount of money you would like to transfer and tap “Pay.”
4. Tap The Transfer Button
When you reach the Apple Pay section in Cash App, you will need to tap the Transfer button. Once you’ve done that, you will be able to enter the amount you wish to transfer from your Cash App account to Apple Pay. Make sure to double-check the amount you are transferring is correct, and then hit “Confirm” to finish the process. It’s as simple as that! You will then see a message on your screen letting you know that the transfer was successful. That’s it! You have now successfully transferred money from your Cash App account to Apple Pay.
5. Enter The Amount You Want To Transfer And Confirm
Once you have selected the “Transfer” button, you will be prompted to enter the amount of money you want to transfer from your Cash App account to your Apple Pay wallet. Enter the amount and double-check it for accuracy before tapping the “Next” button. On the next page, you will be asked to confirm the transfer. Verify that the details are correct and tap the “Confirm” button. You will then get a notice verifying that the money has been securely sent to your Apple Pay wallet when this step has been completed.
If you still don’t understand how to transfer money from Cash App to Apple Pay. Have any issues with this step or if the amount transferred is incorrect, contact the Cash App customer support team right away.
Summarize
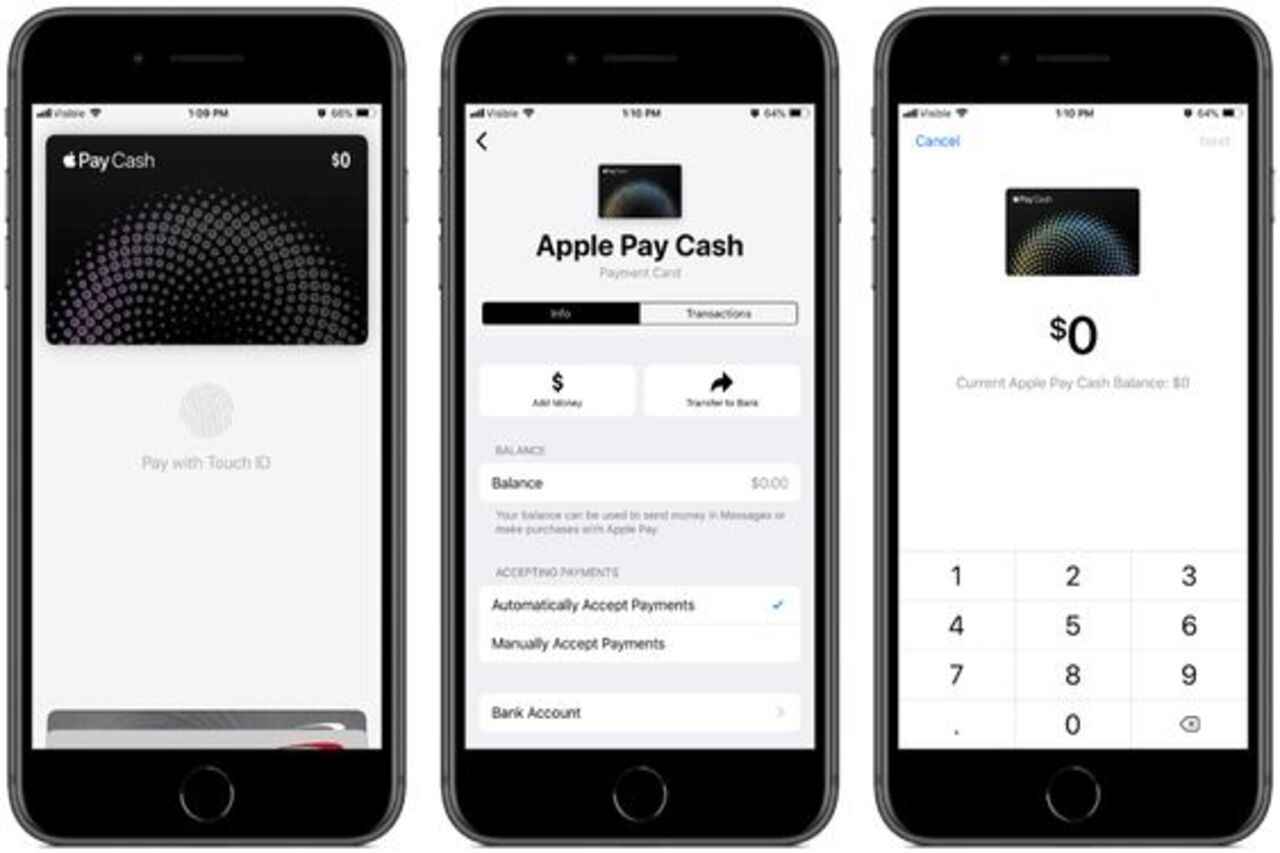
How to add a Cash Card to Apple Pay:
- On the Cash App home screen, tap the Cash Card tab
- Your Cash Card image will appear when you tap it
- Add to Apple Pay by selecting it
- Make sure you follow these steps
The following steps are needed to add your Cash Card to Apple Pay from your Apple Wallet:
- You can add money to your Apple Wallet by tapping “+”
- The following steps should be followed
- To verify that your Cash Card has been added, open the Cash App
Feature Image: Pinterest
Read also: Sending Money From Paypal To Cash App