The first time I purchased a new HP laptop with Windows 10 running on it, I loved its sleek design, and features, which I thought would help with my productivity. However, it was not long before I encountered a relatively easy and yet annoying challenge which was how to perform a screenshot in a Windows 10 PC in the quickest and most efficient way. This feature was necessary to me because I needed screen shot pictures in my online classes and presentation during my work.
I chose to investigate all will be and examine all of them to be able to successfully organize my personal screenshots taking system.
Second Paragraph (Understand How to take a screenshot on Windows 10)
At the end of the article, you will be able to fully understand how to take a screenshot on Windows 10 using a single keyboard shortcut, Snip & Sketch, and even third-party applications. I will not only take you through each and every bit of these processes but also give my personal evaluation and experience as I attempt them on various devices such as HP laptops, Surface devices and even external monitors.
Third Paragraph (Several Methods can be used to take screenshot on Windows 10)
Several methods can be used to take screenshots on Windows 10, and each is applied in a different situation. There are full-screen captures, screenshots of specific windows, and even rectangular snips: you can select the most suitable way to make any screenshots according to your working process. MS Word, according to PCMag and CNET, has made it easy to take screenshots with the help of refining the use of its screenshots. Now, in order to take a closer look at each of these methods, we shall dive straight into them and see what are their advantages, drawbacks, and their practical applications.
1. Using Keyboard Shortcuts to Capture Screens on Windows 10
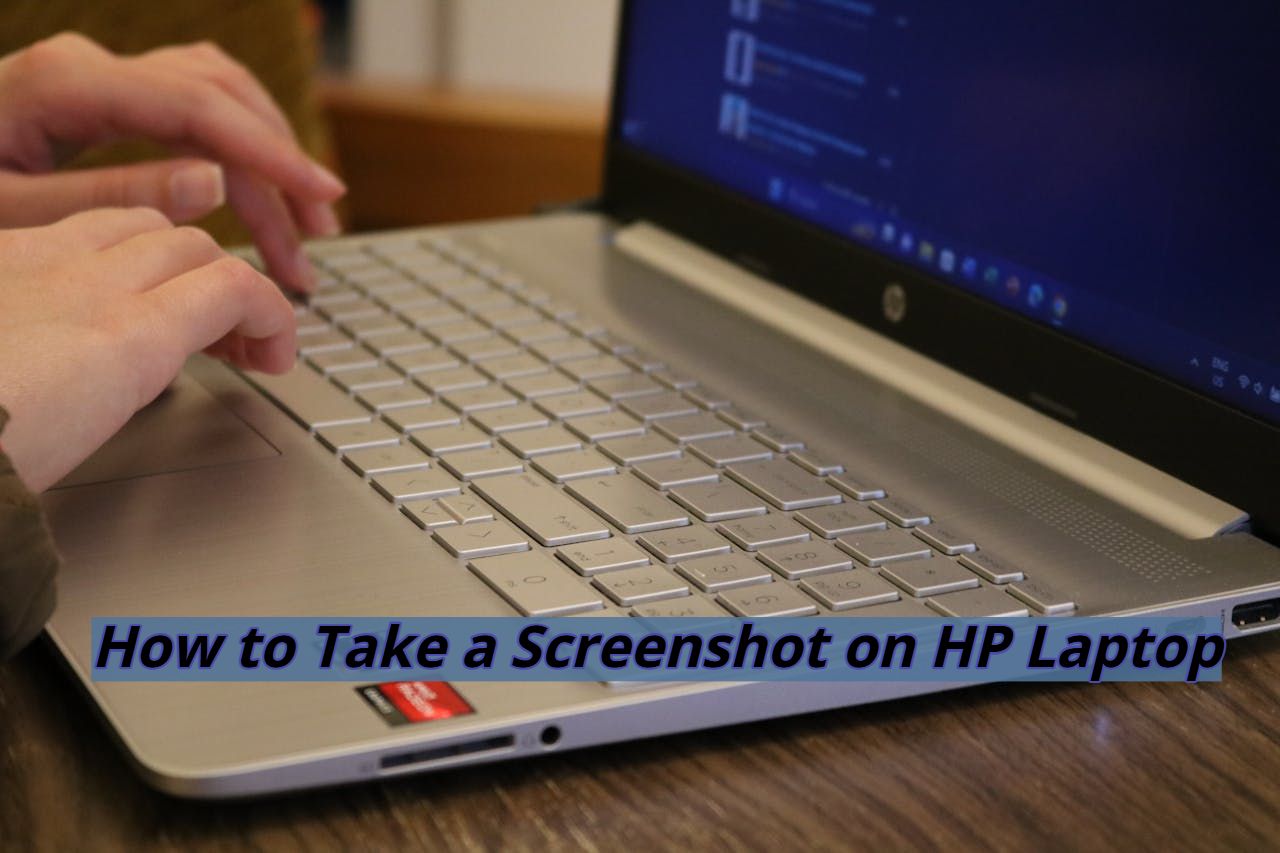
Among the easiest methods that I discovered of taking a screenshot of Windows 10 is using keyboard shortcuts. Using the windows key + PrtScn on my HP laptop dumped the screenshot instantly into the Pictures Screenshots folder.
This way is simple for users who frequently wonder, How do I take a screenshot on a Windows 10 keyboard? To take a screenshot of the active window, press Alt and PrtScn together and paste it in Paint or Word.
The other useful shortcut is Windows key + Shift + S, which will open the Snip & Sketch tool, with which you can select part of a window. This is particularly beneficial to those who require to take only one window.
Pro Tip: Thinking about, “How do you take a screenshot on Windows 10 Ctrl+Alt”? Then, the answer is Windows does not utilize Ctrl+Alt directly to perform a screenshot. In place of the above combinations, the following suffices.
2. Snip & Sketch and the Built-in Tools
As I went deeper, I found that Snip & Sketch is built in Windows 10. This was a breakthrough. Snip & Sketch gives you the ability to annotate, crop and share screen captures immediately, unlike traditional Print Screen.
To take a screenshot, it is easy you just press Windows + Shift + S, draw a cursor on the area you need to screenshot, and your picture will appear in the clipboard. You can then copy that into applications like photoshop, Outlook or even chat windows.
Users of multiple monitors can use Snip & Sketch to take a screenshot of one monitor. It is that simple: once you have the appropriate screen, pick the area and you are finished.
I would use this feature to save time when preparing documents to work. It works especially well, in case you often post instructions or tutorials.
3. Advanced Screenshot Options with Game Bar and Third-Party Apps
Windows 10 also has what is known as the which is made to suit gamers. By way of using it, press and Xbox Game bar Windows + G and then tap on the camera icon in order to record your screen. I particularly liked this tool to record the tutorial, and make what I call snapshots that are the screen shots during the streaming.
However, other situations required a higher degree of flexibility. That is when I started to use third-party programs such as Lightshot and Greenshot. The apps supported advanced editing, cloud sync and sharing.
In the process of testing, I contrasted these tools with the inbuilt ones and realized:
Advantages: There are more editing options, cloud search, and instant sharing.
Cons: Must be installed, not as smooth as shortcuts that are built in.
Pons: Perhaps you want to learn new practices; in that case, safety can provide information about how screenshots can be used to collect evidence in the digital space.
4. Screenshots on Different Devices: Surface, Laptops, and Tablets
Another difficulty came when I got an upgrade to a Surface device- the absence of the Windows button. On touchscreen devices, a screenshot can be taken using Power + the VolumeDown buttons pressed together just like on a smartphone.
It was easiest in a touchscreen HP laptop using Snip & Sketch. The same notations could be applied in the case of my friend with a Redmi laptop using Windows 10, he turned to the Fn + PrtScn combination.
Interestingly, the steps to taking a screenshot on Windows 11 are almost the same but, instead of Snip & Sketch, you would use the updated Snipping Tool. And unless you are a switcher and used to the Smart Notebook, it may not be like the Steve Jobs Mac method of two key press, Shift and Command and 4 keys.
5. Pros and Cons of Different Screenshot Methods
The conclusion that I made after several months of experiments with various options is that there are strong and weak sides to each approach.
Pros of Built-in Tools:
- And immediately obtainable.
- Possible to have multiple (Full screen, window, custom area).
- No installation required
The advantages of Built-in Tools:
- Limited editing.
- In some cases you need to manually save.
Advantages of the Third-Party Tools:
- Fine editing functions
- Simple cloud deployments
- Aesthetically and better to use by professionals.
Third-Party Tools Cons:
- Additional steps required to install Extra
- Certain features are paid versions
Third Party Tools Pons:
- The simplest requirements are satisfied by the forces of built-in Windows 10 shortcuts.
However, when you are a content creator or professional, then apps like Lightshot will make it easier.
FAQs
Q1. How to screenshot on Windows 10?
To make it full-screen press the Windows+PrtScn combination, and to obtain a snip of a selected area, you will press Windows+Shift+S.
Q2. How can I capture a screenshot on Windows 10 on a single screen?
Press the Windows+Shift and S keys and then choose the region of the screen you desire.
Q1. How to make a screenshot in Windows 10 without using the mouse?
Alt+PrtScn of the currently active window, or Fn+PrtScn on laptops.
Read also: Windows 10 Troubleshooting & Ways To Fix Them
Conclusion
With the help of knowing how to take screenshots on Windows 10, my work and study processes have also changed, as well as sharing ideas online. There are no fixed tools to use on Windows 10 in order to take screenshots. The same is true when you are upgrading to Windows 11 or even to Mac. You will never find it hard to use your screen shot again with practice.
Feature Image: kinsta.com