

To take full control of your photography, it’s crucial to grasp how ISO impacts image quality, especially in low-light conditions. Knowing what is ISO on a camera helps you adjust sensitivity to light, allowing you to brighten images without altering shutter speed or aperture—though it can introduce noise at higher levels.
If you’ve ever dipped your toe into photography and played with your camera settings, you’ve probably come across the word ISO. Understanding this aspect of photography will bring you one step closer to mastering exposure and taking sharp, rich photos in all sorts of light. In this guide, we will explain the definition of an ISO, how it will affect your images, and how to utilize it to take charge of your photography.
Understanding ISO: The Basics
ISO International Organization for Standardization relates to the sensitivity of your camera sensor to light. The number system for ISO, in essence, tells the camera how much light is required to adequately expose an image. A low ISO means low sensitivity to light, whereas the higher it goes, the more sensitivity is given to light.
For the most part, ISO can be controlled manually in most of the present-day habitats, like DSLRs or mirrorless cameras, for ISO adjustment settings; even in times like these, sometimes you might even find ISO usable on smartphones too.
How ISO Affects Exposure and Image Quality
ISO is one of the three pillars of exposure: shutter speed and aperture. Together, they form an exposure triangle with its three elements. Raising the ISO means that less light will reach the sensor before an image is taken. Thus faster shutter speeds or smaller apertures can be used even in illuminated spaces.
This is dew he was going to practically change ISO in your image:
- Low ISO (100-400)→ Definition. The pictures captured in it are razor-sharp and crystal clear in bright lights.
- Midrange ISO (800-1600)→ Best suited for indoor click shots by golden hour in the evening or cloudy conditions.
- High ISO (3200 and above)→ Required for shooting images at night, concert-type activities, or spaces not well lighted but likely going to produce more noise.
When Should You Increase Your ISO?
Awareness of ISO adjustments can make or mar a shot. Thus, the following are the popular situations where increased ISO is a blessing:
Low-Light Photography
Increasing the ISO for indoor shots, dusk light, or shaded areas can help you gain a shutter speed sufficient to prevent blur, using neither tripod nor flash.
Fast Action in Dim Conditions
Moving subjects illuminated badly — sports events or wildlife at dawn — require shutter speeds that are faster, with ISO permitting a correct image exposure.
Night Photography and Astrophotography
Such nightscapes or starry skies, high ISO alongside wide aperture and long shutter speed gathers enough light to “realize” details in a dark sky.
Concerts and Events
When flash is not allowed and lighting is erratic, upping the ISO comes in handy to capture scenes where the subject stands out of light.
When Should You Keep Your ISO Low?
Modern cameras are handling higher ISO settings better than ever before, but it is sensible to choose lower ISOs when lighting permits. This will guarantee the best possible image quality with sharp details and vivid colors. Some examples are:
Bright Outdoor Scenes
In sunny outdoor scenarios such as shooting landscapes, architecture, or portraits, ISO 100–200 can be comfortably used while enjoying excellent image quality.
Studio Photography
Photographers shoot at base ISO levels, usually at the lowest level for their cameras, when shooting indoor photographs with artificially controlled lighting setups. This is done to achieve tack-sharp and noise-free digital images.
Using a Tripod
When you shoot an immobile scene such as long-exposure landscape photography or architectural photography, you may keep your ISO lower because the camera is stable enough to allow longer shutter speeds without causing blur.
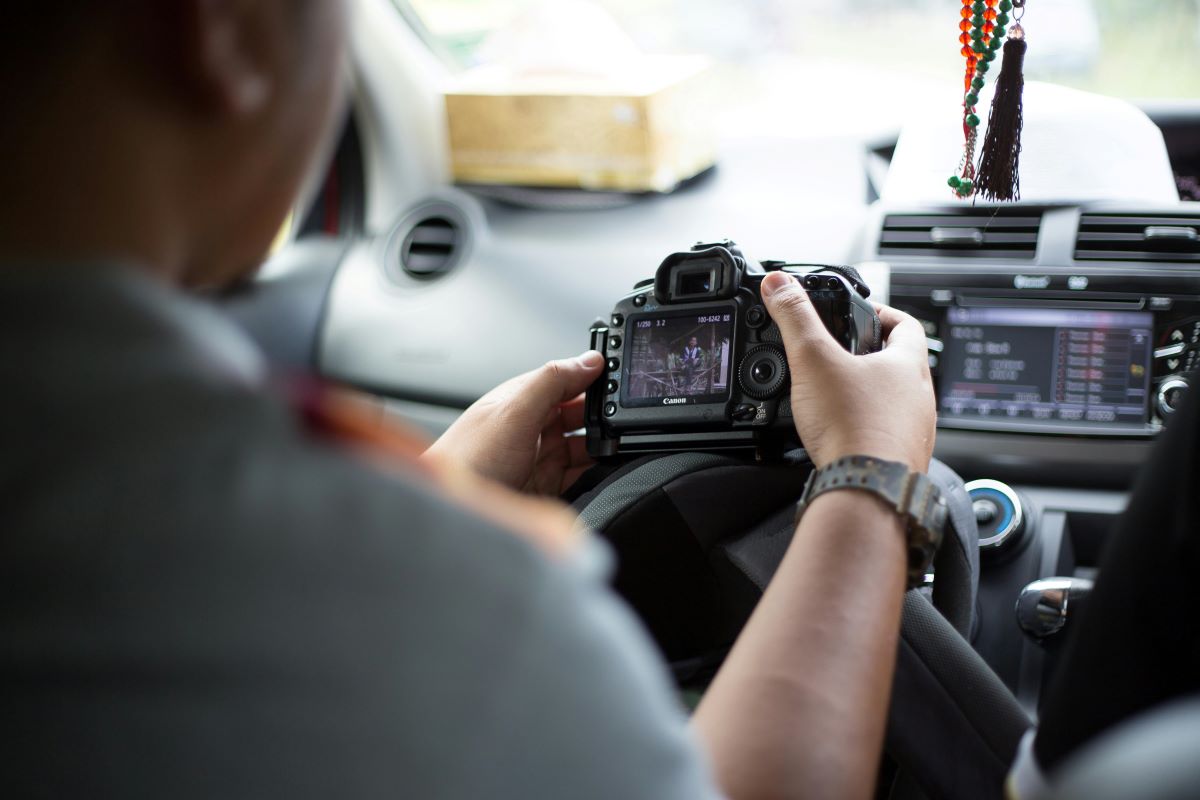
How to Adjust the ISO Setting on Your Camera
Simple to adjust ISO, and yet, it differs from one camera brand and model to another. Here are the general steps for most cameras:
DSLR / Mirrorless Cameras
Typically, a camera will either have an ISO button by its body or access ISO settings through the menu of the camera. The camera allows a manual selection for an ISO value or can set on Auto ISO, where the camera will set and adjust the ISO accordingly depending on the lighting condition.
Smartphones
In most smartphone camera apps (particularly “Pro” or “Manual” modes), an ISO adjustment would need a slider or dial on the screen to let the user adjust ISO directly.
ISO and the Exposure Triangle: Balancing ISO, Aperture, and Shutter Speed
Experimenting is very important. Start at ISO 100 when it is bright and increase it as it gets darker. Watch out for noise level in the image as you increase ISO-you will note behavioral differences between cameras when subjected to higher ISOs.
The ISO is not considered alone, since it works with the aperture (the opening of the lens) and the shutter speed (the duration the shutter is open). Therefore, when one component is adjusted, the others must change in some way to keep the proper exposure.
Does High ISO Always Destroy Image Quality?
Not necessarily. Modern-day cameras, especially full-frame and high-end mirrorless ones, can handle high ISO excellently. From a standpoint of sensor technology and in-camera noise reduction, it is appropriately able to yield a usable image at ISO 3200, ISO 6400, or even higher with hardly any noise manifestation.
Also, if your image has been well exposed, noise apparent at high ISO levels will be less of an issue than if an underexposed image was brightened through editing. Make it your goal to always try to have a good exposure in-camera, rather than rely on post-processing.
Final Thoughts: Mastering ISO for Better Photography
ISO might seem a technical term, but the crux of the matter is that mastering it allows creative control over your photography. Summed up:
– Keep ISO low in good light for the best picture quality.
– Raise ISO wherever necessary to take the shot—in low light or during fast action.
– Understand how ISO interacts with shutter speed and aperture to balance exposures.
If you practice using different ISO settings under varying conditions, then you’ll gain confidence and be able to adapt quickly and capture breathtaking images no matter what lighting situation comes your way.